PrintLab 3D Printing Tips
At PrintLab, two of our core values are community and sharing. We strongly believe in supporting 3D print enthusiasts from all over the world through sharing ideas and resources. With this in mind, we hope you find our guide to achieving better 3D prints useful;
14th February 2017 • Tips
Basic Maintenance

The primary concern for gaining good quality prints is that the machine is maintained and therefore working effectively. Below are some key points on maintaining your printer:
- Make sure the print build plate is clean and free from any debris, oil or grease
- The nozzle should be clean and free from any excess plastic remains
- Ensure all the axis are moving smoothly. If there is any resistance then apply a drop of sewing machine oil.
- Give the feeder a visual check and ensure it is free from any loose filament fragments or dust
- Ensure the belts are optimally tightened
Model Design

After establishing the basic maintenance of your printer, the next step in achieving high quality prints is to consider some basic design elements of your 3D model.
Wall Thickness – This is an important consideration when designing a model and is related to the nozzle size. The nozzle size is the minimum thickness of a single printable line. The default nozzle fitted to an Ultimaker 3D printer is 0.4mm, meaning the wall thickness should be at least 0.4mm or a multiple of this i.e. 0.8, 1.2 mm etc. For a 0.25 mm nozzle, the wall thickness should be at least 0.25 or could be 0.5, 0.75, 1 mm etc.
Overhangs – An overhang is an area of a model where there is limited support. It is important to consider how overhangs will affect the quality of your print when designing;
- If possible, avoid overhangs when designing
- Try changing the orientation of your print to limit the amount of overhangs, giving an easier cleaner print
- nything up to and including a 45 degree angled overhang is printable, however the more you increase this angle, the poorer the finish since filament will begin to droop due to a lack of support underneath.
- Choose bridging over overhangs. When designing, if there is an option to use a 180 degree bridge rather than an overhang then choose the bridge. The printer performs noticeably more effectively when bridging between two areas than when printing overhangs at > 45 degrees.
- If the above do not apply and there remains an overhang concern then you should consider adding in some support either through your slicing software or a 3rd party such as adobe meshmixer. Our guide to getting started with Meshmixer is here.
Optimising Slicer Settings

In order to print good quality models it is important to understand how to get the best out of your slicer and optimise settings for each particular model. Much of the below refers to Cura: a popular slicing software, however it is not the only one. Regardless of the slicing software you choose to use, the majority of the parameters below will apply.
Basic Slicer Settings
There are a number of tools in Cura that will assist you in setting up your model for effective printing;
Rotate – It is important to orientate your model along all three axes for optimum printing. The main considerations are to limit overhangs and ensure adhesion to the bed. You rotate by clicking your model and selecting the rotate icon in the bottom left corner.
Scale – The Scale button shows the dimensions of your model, along with the ability to scale along each of the axes. As default, it is set to uniformly scale. Uniform scaling can be disabled by simply clicking the lock at the bottom of the scaling window.
View Mode – Another useful tool in Cura is the view mode. There are a number of viewing options, so feel free to play around and get comfortable with these. Of notable importance is the ‘layer’ and ‘overhang’ modes. Layers mode allows you to view the path of your print head using the slide bar and ensure there are no problems with gaps or skipped layers. Overhang mode highlights areas of overhang where support is recommended.
Layer height – Depending on the capability of your printer, this can commonly be any value from 0.02 mm (20 micron) to 0.25 mm (250 micron). Your selection should be based on the size of your model, the level of detail you require and the length of time you wish to wait for the print. Personally, we find that 0.1 mm is a suitable layer height in most cases and don’t tend to go lower. For large models with limited detail, we also find 0.2 mm a useful layer height.
Shell Thickness – At a minimum, this should be the same size as the nozzle size (default nozzle is 0.4 mm) or can also be a multiple. We usually use a shell thickness of 0.8mm, but if you require a stronger model then may benefit from 1.2 mm. If you are using a different sized nozzle then I would recommend a similar methodology e.g. for a 0.25 mm nozzle, more often than not we would suggest a shell thickness of 0.5 mm.
Retraction – By default, we recommend selecting retraction
Bottom/Top Thickness – Makes sense to set this as a multiple of your layer height and if you want an evenly strong part then this should be similar to your shell thickness. We usually use a value of 1 mm
Fill Density – This is model dependant. A model with a large surface area print may require fill in order to support the top layer, whereas some models can be printed hollow. A useful default value is 25%. Play around with this value and use the ‘layer view mode’ to assess the printability of your model. Of course the fill density selection has an impact on how much PLA is used and the time your print takes to be completed.
Print Speed – A well-adjusted good quality 3D printer can print at speeds of up to 150 mm/s. For fast prototyping this may be a serious consideration, for good print quality however, we recommend a value of 50 mm/s. In some cases, when time is not an important consideration, you may want to lower this further to gain an even better print quality.
Support – Some models will need support material to print effectively. Support is usually necessary for overhangs with angles > 45 degrees. As mentioned earlier, it is important to orientate your model so as to limit or even eliminate the need for support.
Support type – There are two options for support in Cura: ‘Touching Buildplate’ & ‘Everywhere’. ‘Touching Buildplate’ places support between the heated bed and your model. ‘Everywhere’ places support between the heated bed and your model and also within the model itself.
Platform adhesion type – If you are concerned that your print may not stick to the build plate, there are two options for platform adhesion: ‘Brim’ & ‘Raft’. ‘Brim’ creates a single layer that surrounds your model, creating more surface area and assisting with adhesion. This can easily be removed once your print is completed. ‘Raft’ creates a layer underneath your object however can prove difficult to remove effectively. We tend to advise the use of brim only for improving adhesion of your model to the build plate.
Advanced Slicer Settings
Nozzle Size – Depending on your printer and/or nozzle fitted, you should change this value accordingly. As a default for Ultimaker this should be set at 0.4 mm
Initial Layer Thickness – A thicker initial layer makes sense to ensure you print is adequately stuck to the bed. A value of 0.3mm usually works well.
Travel Speed – A low value can sometimes lead to stringing, whilst a higher value can lead to steps being missed. We recommend a travel speed of 200 mm/s.
Bottom Layer Speed – You want a slower bottom layer speed than overall print speed (basic settings) to ensure better adhesion to the bed. We find that a value of 20 mm/s works well in most cases.
Infill Speed – Should be a similar value to overall print speed. A value of 0 automatically sets this speed as the same as the overall print speed. We find that this can be set 10-20 mm/s greater than overall print speed without sacrificing quality.
Top/Bottom Speed – A value of 0 automatically sets this speed as the same as the overall print speed. We find 50 mm/s works optimally however quite often set this as low as 30 mm/s to get a better surface finish.
Outer Shell Speed – Again, a value of 0 automatically sets this speed as the same as the overall print speed. We find 50 mm/s works optimally however you may consider setting this slightly lower for improved shell quality finish. A large difference between this value and the inner shell speed will have a negative effect on overall quality.
Inner Shell Speed – Again, a value of 0 automatically sets this speed as the same as the overall print speed. We find 50 mm/s works optimally however you may consider setting this slightly higher for a lower printing time, especially considering the inner shell. Again, please note that a large difference between this value and the inner shell speed will have a negative effect on overall quality.
Minimal layer time – A value of 5 seconds works well in most cases. For very narrow prints you may want to consider increasing this to give the previous layer time to cool before moving to the next layer. Another consideration for narrow prints is to print two models side by side and select ‘Tools’ and “Print at Once”. Whilst one model layer is cooling, the other model layer will be printing and vice versa.
Enable Cooling Fan – By default we recommend enabling cooling fan
Printer settings

Although the majority of print parameters are set under slicer settings, in the case of Ultimaker and some other 3D printer brands there are certain options that are set on the printer itself. It is worth considering these settings when looking to achieve good quality prints.
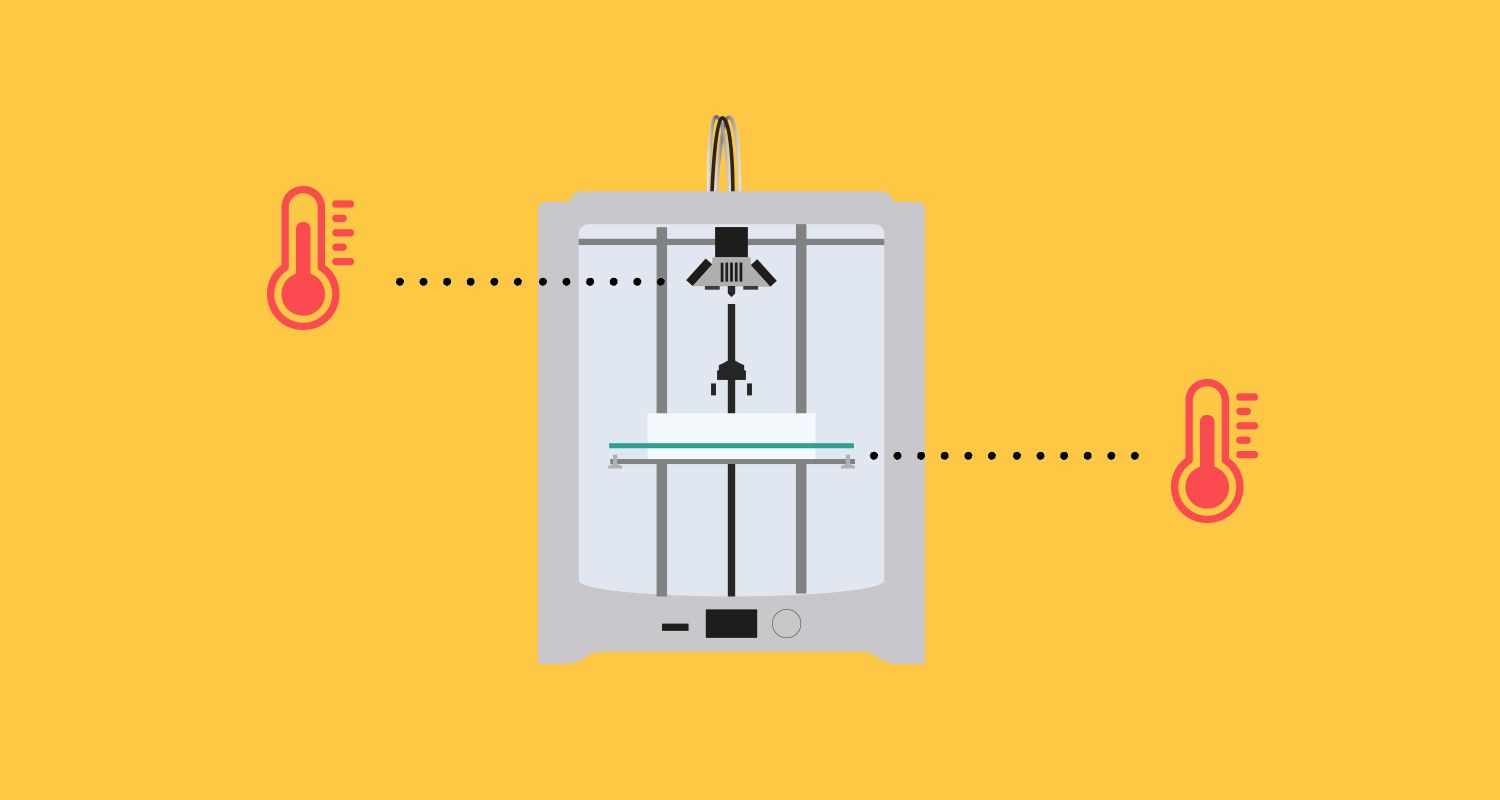
Printing temperature – The printing temperature is a vital consideration for print quality. The lower the printing temperature the more effective the cooling process and therefore the better finish on your prints. As well as benefitting the cooling process, lowering the printing temperature has a positive effect on possible stringing issues. It should be noted however that lowering the printing temperature too much can cause under-extrusion. We recommend starting at 210 degrees for PLA and making 5 degree reductions to find the best setting. Depending on the composition, brand and even colour of the material, the best print temperature will vary for each. Some perform optimally as low as 180 degrees, whilst others perform best at 210 degrees
Bed Temperature – A heated bed is crucial to keeping parts stuck to the build plate and limiting warping of your prints. We recommend the following settings:
- PLA: 60 °C
- ABS: 90 °C
- CPE: 65 °C